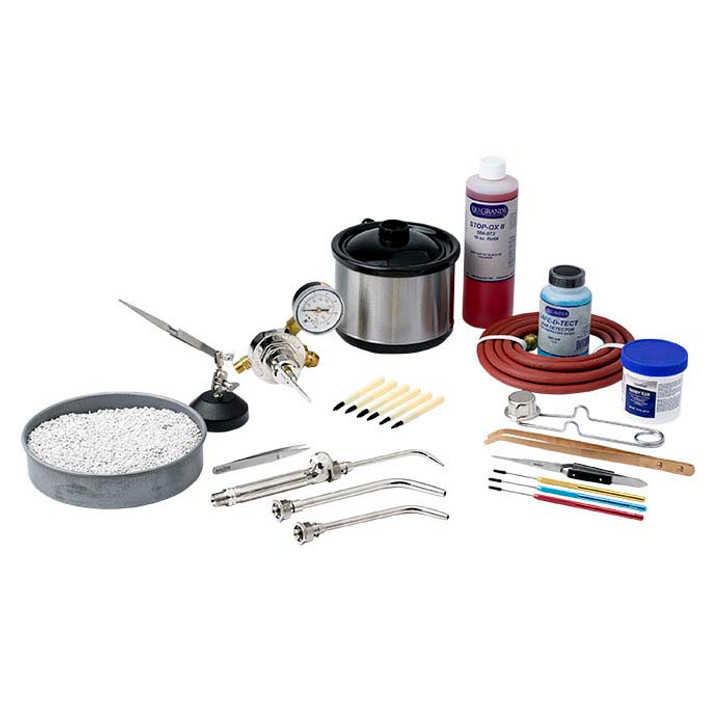
Soldering is the process of melting a metal onto other melt components to bind them.
Solder is the material used. It has a low melting point and is soft and flexible.
For beginners one of the most intimidating processes of making jewelry is learning to solder. How scary is it firing up an acetylene/O2 torch and aim that flame at a piece you’ve been working on for hours? Probably the best way to get comfortable doing it is to get some copper scrap pieces and use silver solder (so you can easily see your results), and practice over and over until you can do all three of the basic solder joins with ease. Don’t worry-everybody starts with too much solder, too much or too little heat, and difficulty learning placement. With practice and variation of your method, you will learn what works best. No matter what type of metal you are working with: silver, gold or base metals (bronze, brass, copper, etc.), the following techniques will be pretty much the same.
The three basic solder joins include sweat, butt, and strip.
“ Sweat Soldering” is the process of joining a sheet to another sheet. It is a two-step process and actually the easiest join to master. You pre-melt solder on the reverse side of the top sheet, flip it over and position it on the bottom sheet, then reheat the assembly till the solder flows again and joins the two layers.
“ Butt Soldering” is when you join one edge to another. This is common in soldering a jump ring, or in reducing the size of a ring. It is critical that the edges are both perfectly smooth. The two edges should butt completely together with no gaps. You can use a file to file the two edges. Once soldered, you should carefully file, sand, and then examine the seam closely for gaps or pits.
“ Strip Soldering” or “T Soldering” is definitely the most difficult. This is when you solder the edge of one plate to the flat side of another. This is an important joint as you will use it when making bezels. As the flux bubbles, repositioning of the vertical piece may be required. You want to be careful to control the heat as you want the solder to run along the join-not up the wall.
Important things to remember about soldering:
Make sure you have plenty of light and ventilation and proper safety equipment to protect yourself. Make sure both pieces are clean before you start. You should also clean your hands and your work surface. Dust, finger oils, etc. can create problems.
Use flux whenever possible as it will act as a glue to help hold your pieces in place. It will also turn translucent when the solder is near the proper flow temperature. Make sure you are using flux that is compatible with the metal you are using. Put just a small amount of flux in a low container and throw it out after each use, so that you don’t contaminate your entire supply. Also be sure and use a good clean brush to apply your flux.
Start with a smaller amount of solder then you think you will need. Solder always seems to grow as you melt it. With all solder joins it is best that both pieces fit snugly. You should not be able to see any light through the connection. Nor should there be any overlap.
Make sure that you use the right torch tip for the size of your work. You should have a small, medium and large one. You will use the medium most often, but will need the small one for tiny joins and the larger one for larger joins. The solder will flow in the direction of the heat; you can use the flame to pull the melted solder to where you want it. And it is important that the metal on both sides of the join are heated equally. If it isn’t, the solder will flow to the heat (or hotter side).
Check out this soldering kit at Rio Grande. This is a great place to get your soldering supplies!
 US Dollar
 Australian Dollar
 Euro
Euro
 Canadian Dollar
 British Pound Sterling

